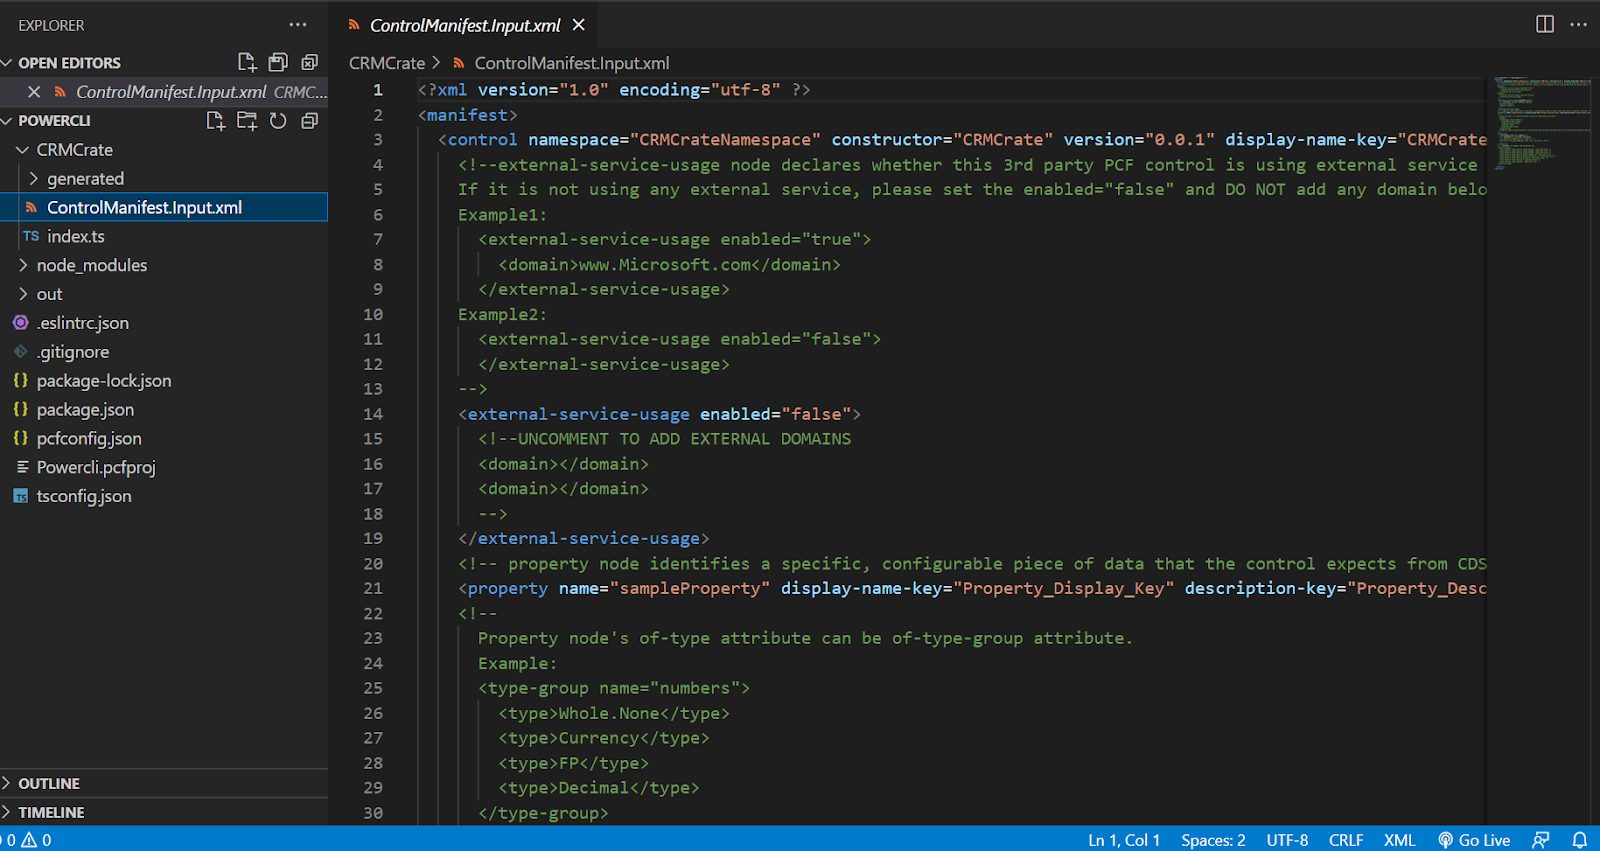
<property name="sliderValue" display-name-key="sliderValue_Display_Key" description-key="sliderValue_Desc_Key" of-type-group="numbers" usage="bound" required="true" />
import { IInputs, IOutputs } from "./generated/ManifestTypes";
export class LinearInputControl
implements ComponentFramework.StandardControl<IInputs, IOutputs>
{
private _value: number;
private _notifyOutputChanged: () => void;
private labelElement: HTMLLabelElement;
private inputElement: HTMLInputElement;
private _container: HTMLDivElement;
private _context: ComponentFramework.Context<IInputs>;
private _refreshData: EventListenerOrEventListenerObject;
/**
* Empty constructor.
*/
constructor() {}
/**
* Used to initialize the control instance. Controls can kick off remote server calls
and other initialization actions here.
* Data-set values are not initialized here, use updateView.
* @param context The entire property bag available to control via Context Object;
It contains values as set up by the customizer mapped to property names defined
in the manifest, as well as utility functions.
* @param notifyOutputChanged A callback method to alert the framework that the
control has new outputs ready to be retrieved asynchronously.
* @param state A piece of data that persists in one session for a single user.
Can be set at any point in a controls life cycle by calling 'setControlState'
in the Mode interface.
* @param container If a control is marked control-type='standard', it will receive
an empty div element within which it can render its content.
*/
public init(
context: ComponentFramework.Context<IInputs>,
notifyOutputChanged: () => void,
state: ComponentFramework.Dictionary,
container: HTMLDivElement
): void {
// Add control initialization code
this._context = context;
this._container = document.createElement("div");
this._notifyOutputChanged = notifyOutputChanged;
this._refreshData = this.refreshData.bind(this);
// creating HTML elements for the input type range and binding it to the function which
// refreshes the control data
this.inputElement = document.createElement("input");
this.inputElement.setAttribute("type", "range");
this.inputElement.addEventListener("input", this._refreshData);
//setting the max and min values for the control.
this.inputElement.setAttribute("min", "1");
this.inputElement.setAttribute("max", "1000");
this.inputElement.setAttribute("class", "linearslider");
this.inputElement.setAttribute("id", "linearrangeinput");
// creating a HTML label element that shows the value that is set on the linear range control
this.labelElement = document.createElement("label");
this.labelElement.setAttribute("class", "LinearRangeLabel");
this.labelElement.setAttribute("id", "lrclabel");
// retrieving the latest value from the control and setting it to the HTMl elements.
this._value = context.parameters.controlValue.raw!;
this.inputElement.setAttribute(
"value",
context.parameters.controlValue.formatted
? context.parameters.controlValue.formatted
: "0"
);
this.labelElement.innerHTML = context.parameters.controlValue.formatted
? context.parameters.controlValue.formatted
: "0";
// appending the HTML elements to the control's HTML container element.
this._container.appendChild(this.inputElement);
this._container.appendChild(this.labelElement);
container.appendChild(this._container);
}
public refreshData(evt: Event): void {
this._value = this.inputElement.value as any as number;
this.labelElement.innerHTML = this.inputElement.value;
this._notifyOutputChanged();
}
/**
* Called when any value in the property bag has changed. This includes field values,
data-sets, global values such as container height and width, offline status, control
metadata values such as label, visible, etc.
* @param context The entire property bag available to control via Context Object;
It contains values as set up by the customizer mapped to names defined in the manifest,
as well as utility functions
*/
public updateView(context: ComponentFramework.Context<IInputs>): void {
// Add code to update control view
// storing the latest context from the control.
this._value = context.parameters.controlValue.raw!;
this._context = context;
this.inputElement.setAttribute(
"value",
context.parameters.controlValue.formatted
? context.parameters.controlValue.formatted
: ""
);
this.labelElement.innerHTML = context.parameters.controlValue.formatted
? context.parameters.controlValue.formatted
: "";
}
/**
* It is called by the framework prior to a control receiving new data.
* @returns an object based on nomenclature defined in manifest,
expecting object[s] for property marked as "bound" or "output"
*/
public getOutputs(): IOutputs {
return {
controlValue: this._value,
};
}
/**
* Called when the control is to be removed from the DOM tree.
Controls should use this call for cleanup.
* i.e. cancelling any pending remote calls, removing listeners, etc.
*/
public destroy(): void {
// Add code to cleanup control if necessary
this.inputElement.removeEventListener("input", this._refreshData);
}
}
Click on save and close the application.
Adding our control, create a one folder in our project like below.
After uploading solution open any entity select the data type as number type and click on filed propertys.
At the end the it shows like this.


Comments
Post a Comment